“Website Gallery” by “Jordie Bodlay” v1.0
“User Guide for Website Gallery”
Created: 9th August 2011
By: Jordie Bodlay
Email: jordie@jordie.org
Thank you for purchasing Website Gallery. If you have any questions that are beyond the scope of this help file, please feel free to email via my user page contact form here. Thanks so much!
Table of Contents
- Introduction
- Adding an Album & Photos
- Adding Photos to an Existing Album
- Editing an Album
- Deleting an Album
- Sorting Albums
- Editing a Photo
- Deleting a Photo
- Sorting Photos
- Setting Cover Photo
- Viewing Large Photo
- Rotating the Photo
- Introduction to Facebook Albums
- Creating a Facebook Application
- Authorizing a User
- Adding a Page
- Deleting a User or Page
- Adding a Facebook Album
- Verify Facebook Users
- Refresh Albums
- Settings Explained
- Language Pack Files
- Editing the Control Panel Login
- Viewing the Gallery
Introduction - top
This user guide is intended to help you with getting familiar with the control panel and usage of Website Gallery. If you have not yet installed Website Gallery, you can view the installation guide here.
Website Gallery is a PHP script designed to allow you to quickly add and display a collection of albums on your website, either from photo collection on your computer or from multiple Facebook pages or user accounts.
Add an Album & Photos - top
To add an album, click on the button labelled "Add an Album" in your control panel.
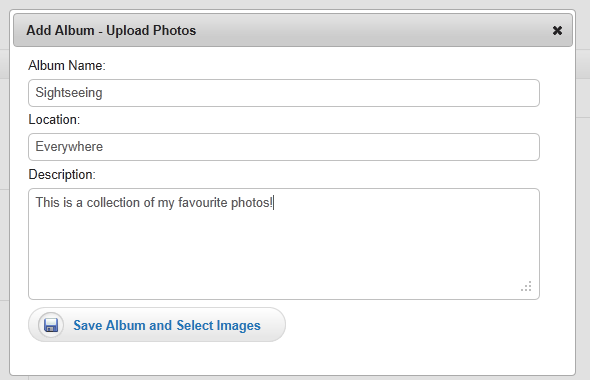
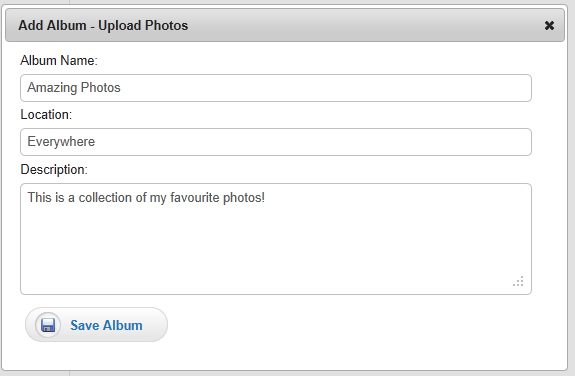
A dialog window will then appear where you can select either to upload your own photos or import an album from Facebook. Click 'Upload photos from my computer'. (For information on adding Facebook albums, click here.) The next dialog window will now display, allowing you to fill in an album name, location and description. Location and description are optional.
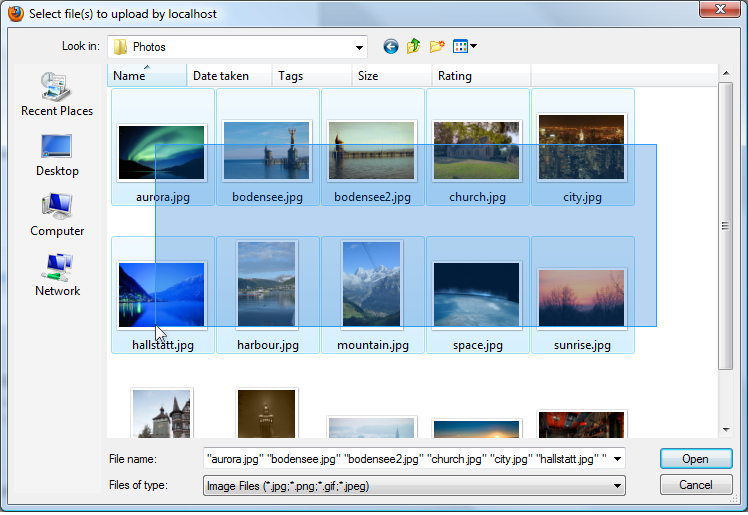
Click on 'Save Album and Select Images' when you're done. If you have Adobe Flash installed, you will see a file select window open up according to your operating system. This window will allow you to select as many files to upload as you want. You can draw a box around all the photos you want or use "shift" or "control" and your mouse click to select multiple images. This following image is from Windows:
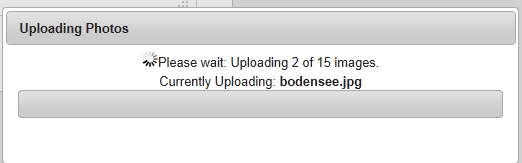
Once you select the files, you will see a process dialog like the following, letting you know the progress of the image upload.
Once the uploading has finished, all dialogs will close and you will view the main Website Gallery screen, where the album list will have been updated with your new album.
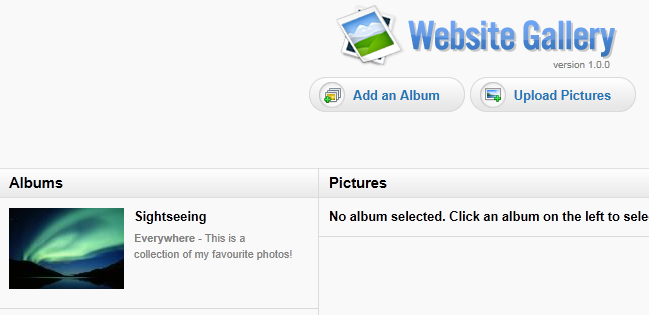
Congratulations! You have added your first albums. You can click on the "View Gallery" link in the top right of the control panel to view the albums.
Adding Photos to an Existing Album - top
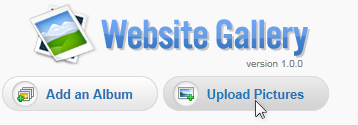
To add photos to an existing album, click on the button labelled "Upload Photos" in your control panel.
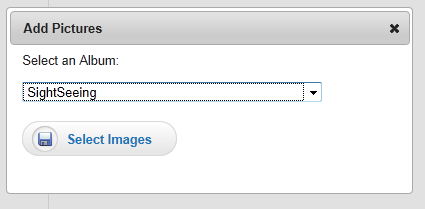
A dialog window will then appear where you can select an album and then click the 'Select Images' button to add pictures to the selected album.
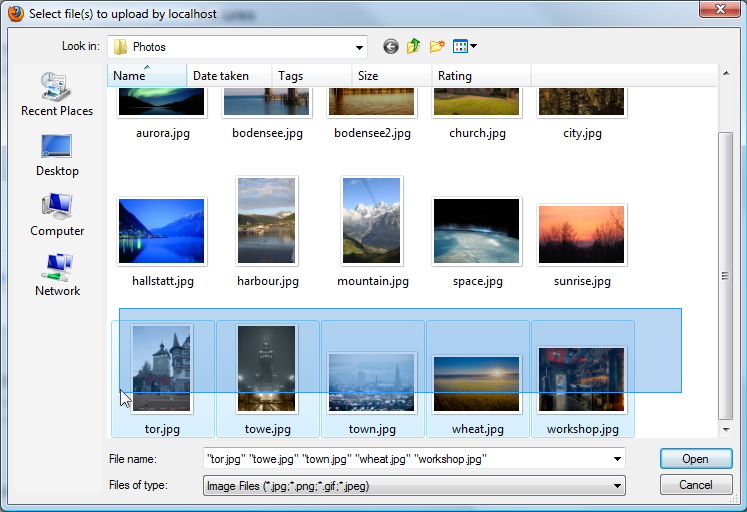
Once you click on 'Select Images' and if you have Adobe Flash installed, you will see a file select window open up according to your operating system. This window will allow you to select as many files to upload as you want. You can draw a box around all the photos you want or use "shift" or "control" and your mouse click to select multiple images. This following image is from Windows:
Once you select the files, you will see a process dialog like the following, letting you know the progress of the image upload.
Once the uploading has finished, all dialogs will close and you will view the main Website Gallery screen with a success message shown.
Editing an Album - top
To edit an album, find the album on the list on the left of your control panel, and hover over it with your mouse. You will see the background darken slightly and two images appear in the top right, a cross and a pencil image.
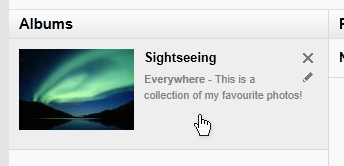
If you hover over each one, labels will appear describing each one. Click on the pencil icon to edit the album.
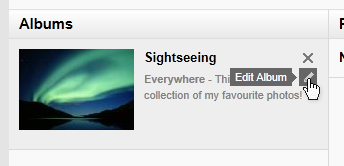
When you click on the edit image icon, you will be shown this following dialog, similar to the original 'Add Album' dialog, except you do not add images from here. View how to add images to an existing album.
When you're done making changes, click 'Save Album'. The dialog will close and a success message displayed.
Deleting an Album - top
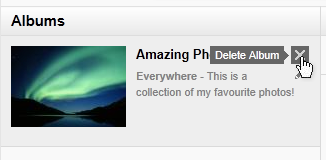
To delete an album, find the album on the list on the left of your control panel, and hover over it with your mouse. You will see the background darken slightly and two images appear in the top right, a cross and a pencil image.
If you hover over each one, labels will appear describing each one. Click on the cross icon to delete the album.
An confirmation box will now appear, asking if you're sure you want to delete that album. If you're sure, click OK. Otherwise click cancel. The deletion of an album cannot be undone.
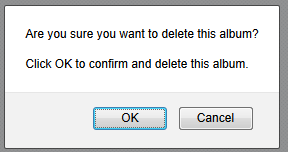
If you clicked 'OK', the album and all its pictures will be deleted, and a success message displayed.
Sorting Albums - top
Once you have a number of albums, you may wish to change the order in which they display. To do this, hover over the cover image of the album you wish to move. You will see the mouse cursor change to a move cross.

Click and hold on the image and move your mouse. You will now be dragging the album. You can move it to any position. In this example, we're moving it to the top of the list.
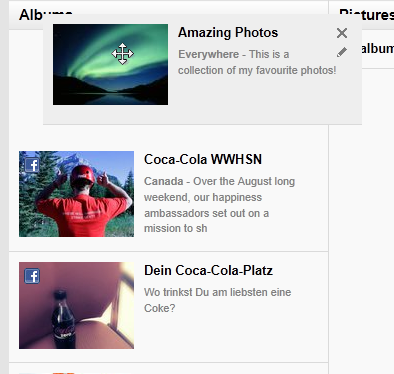
Once it's in a position you're happy with, let go of the mouse and the album will drop into place. The order of the albums will then be updated and a success message shown.
Editing a Photo - top
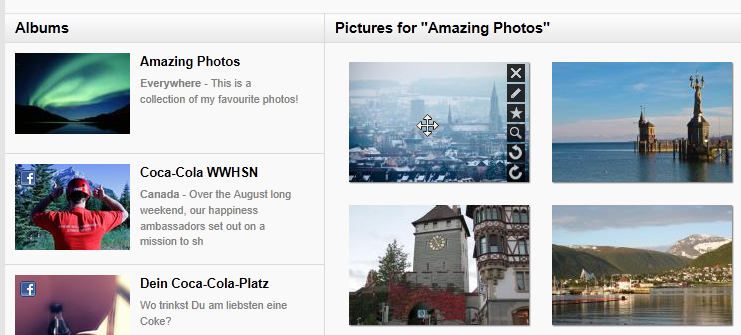
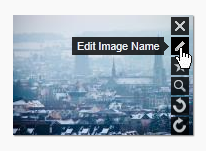
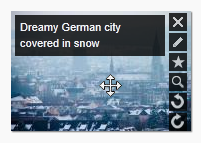
To edit a photo (i.e. change its description/name), click on the album it's contained in on the left of the control panel, then find the image on right when it appears. Hover over the image and 6 black action boxes will appear on the right of the image.
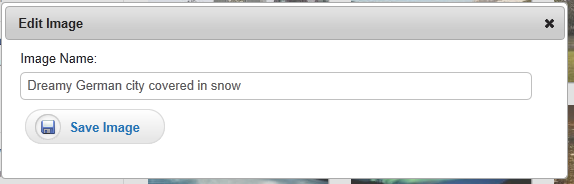
The second box from the top, with the pencil icon, lets you edit the image name. Click it to edit the image name.
A dialog will now appear, allowing you to enter a name for the image. Click 'Save Image' when you're done.
Once you've saved the image name, a success message will be displayed. Now if you hover over the image, the name will be displayed on top of the image.
Deleting a Photo - top
To delete a photo, click on the album it's contained in on the left of the control panel, then find the image on right when it appears. Hover over the image and 6 black action boxes will appear on the right of the image.
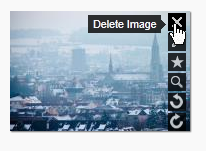
The first box from the top, with the cross icon, lets you delete the image. Click it to delete the image.
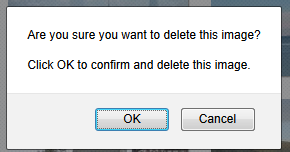
A confirmation window will appear to confirm you want to delete the image. Click "OK" to delete the image, otherwise click "Cancel". Deleting an image cannot be undone.
If you clicked "OK", the image will be deleted and removed from the album and a success message will display.
Sorting Photos - top
To sort photos in an album, click on an album on the left of the control panel, then find the picture on right that you wish to change in the order of pictures and hover over it.
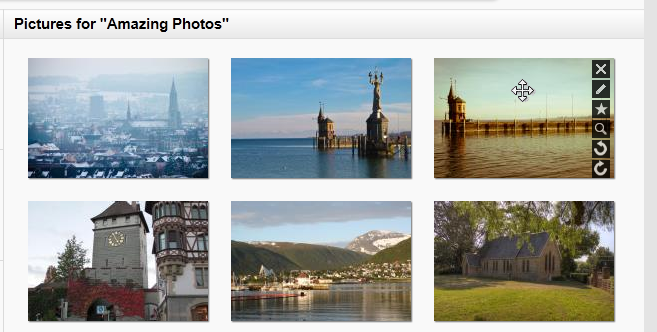
Your mouse cursor will have changed to be a move cross. Click and hold the mouse button, then drag the image to its new position.
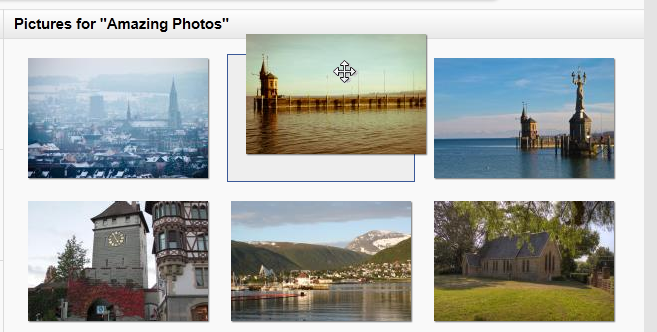
Release the mouse and the image will now be saved into its new position. A success message will be displayed.
Setting Cover Photo - top
To change the cover image for an album, click on the album to view its images and then find the image you wish to be the new cover image. Hover over it and you'll see 6 black action boxes appear.
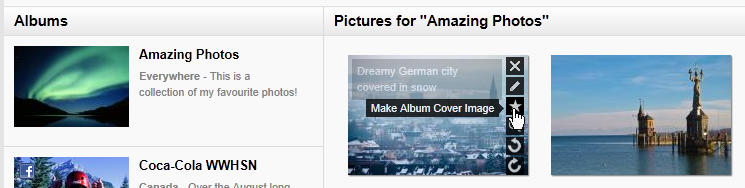
Find the star icon, the third from the top and click it. This will change the cover image of the album to this image.
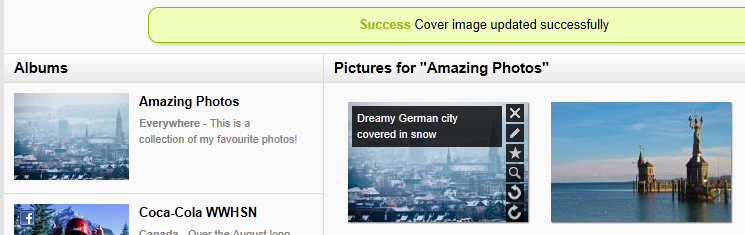
You will see the thumbnail next to the album change and a success message will be displayed.
Viewing Large Photo - top
If you wish to see a large version of any of the image in the control panel, click on the album to view its images and then find the image you wish to see. Hover over it and you'll see 6 black action boxes appear.
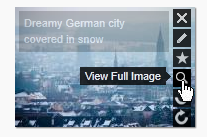
Find the magnifying glass icon, the fourth from the top and click it. This will open a dialog with an enlarged version of the image for you to view.
Rotating the Photo - top
To rotate an image you've already uploaded, click on the album to view its images and then find the image you wish to rotate. Hover over it and you'll see 6 black action boxes appear.
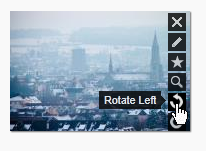

The bottom two icons will allow you to rotate the image either to its left or its right. Click one of them and the image will be rotated.

Rotating the Photo - top
To rotate an image you've already uploaded, click on the album to view its images and then find the image you wish to rotate. Hover over it and you'll see 6 black action boxes appear.
The bottom two icons will allow you to rotate the image either to its left or its right. Click one of them and the image will be rotated.
Introduction to Facebook Albums - top
Website Gallery supports the ability to add albums from a Facebook 'like' page or from a personal user account.
Facebook 'like' pages are public and you can start adding albums from them straight away. See how in the add a Facebook page section. (Note: If you are only adding albums from Facebook 'like' pages and not from a personal user account, you do not need to follow the instructions below on creating a Facebook Application.)
In order to access the albums from a user on Facebook, you must first receive their authorization. In order to get their authorization, you need to have a registered application on Facebook. The setup process is quick and very easy.
Creating a Facebook Application - top
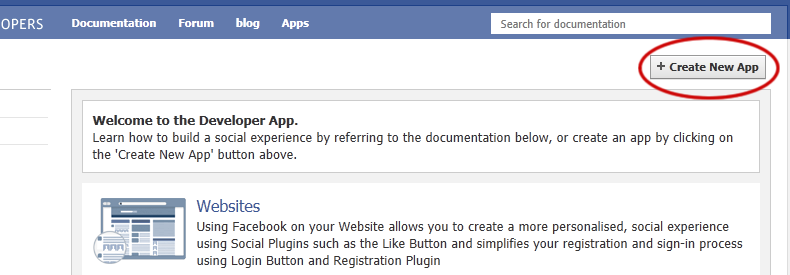
The first step is to visit https://developers.facebook.com/apps. If you have never set up an application before, you will see a screen like the following:
Click "Allow". After that, a new page will appear. Up in the top right corner, click "Create New App".
A new dialog box will appear like below. Give your application a name, perhaps "Example Gallery" where Example is the name of your website. Note, you cannot use "Facebook" in the name of your application. Choose a language and agree to the Terms of Use. After you click "Continue", there may or may not be a captcha image you must fill out.
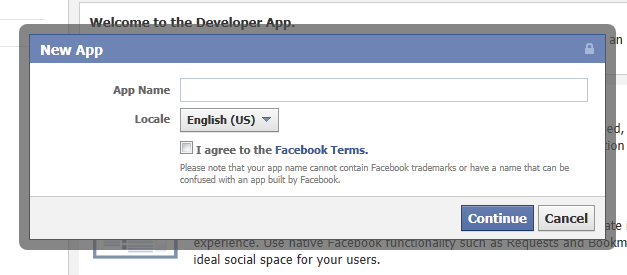
If your Facebook account has not been "verified" by Facebook, it will require you to verify it at this point. This involves entering your mobile phone number or inserting a credit card number. Once you've verified, or if you didn't need to, you will be shown the page for your new application.
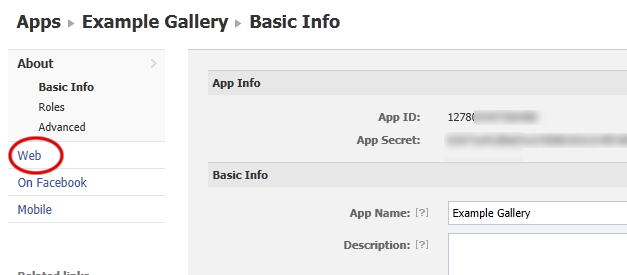
Now you must specify what website you are going to put your application on. Click on 'Web' on the left side menu.
Now you must enter your website URL and domain name in the fields, like the example in the image. In this case, Website Gallery may actually be installed at http://www.example.com/webgallery/, only http://www.example.com/ needs to be used for the "Site URL" and only www.example.com or example.com for the "Site Domain". Click "Save Changes".
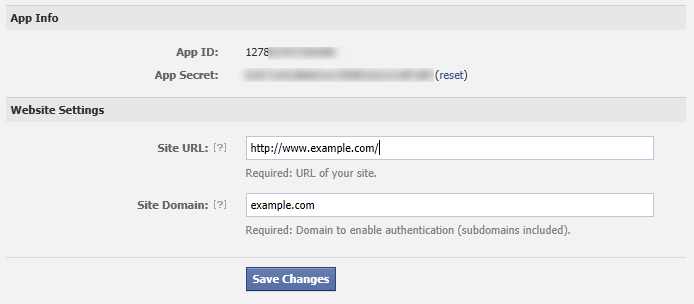
After saving, you will be notified the change was successful. On this page, or on the About page, you will notice "App ID" and "App Secret". (See image above, though the values have been blurred out)
You now need to login to your Website Gallery control panel, and click on the 'Settings' in the top right of your control panel. There will be two fields here, "App Id" and "App Secret". Copy and paste these two values from the application page on Facebook to the fields in the Website Gallery dialog:
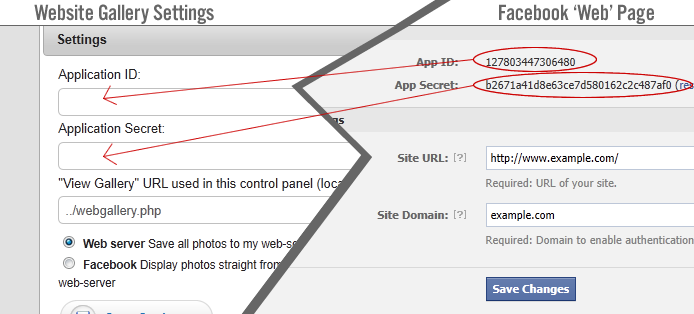
Click "Save Settings". The App Id and App Secret will be saved and the control panel page will refresh.
Congratulations! Your Facebook application is now set up and ready to add users!
Authorizing a User - top
Facebook has privacy security on user accounts and you can not simply download albums from any user. You must get authorization from that user in order to access their (or your) album information.
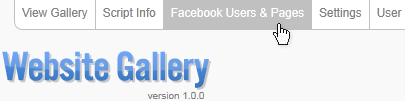
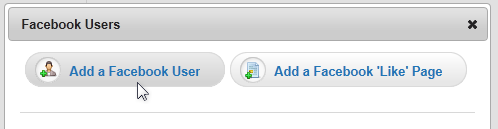
To authorize and add a user to Website Gallery, click on the 'Facebook Users & Pages' at the top of the control panel, then click the 'Add a Facebook User' button.
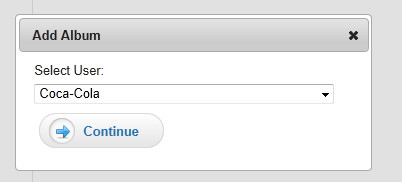
A dialog window will now appear asking you to login to Facebook (in another tab/window) as the user you wish to get authorization from. Once you've confirmed that you've logged in as the correct user, click the "Continue" button.
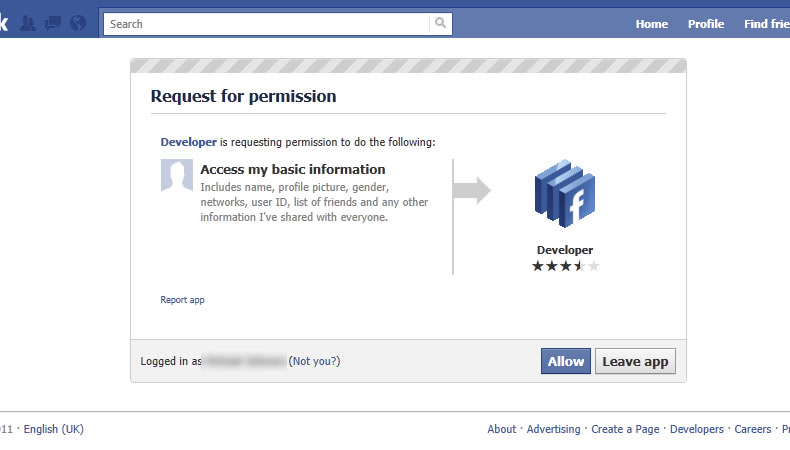
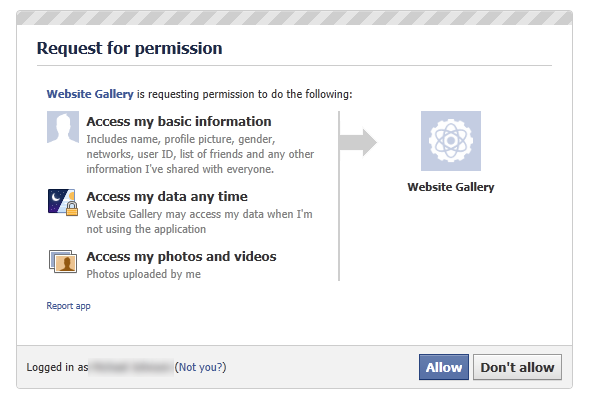
You will be redirected to a page on Facebook itself to confirm authorization. Click "Allow".
You will be redirected back to the control panel, and the user will have been added to your control panel.
You have now successfully added your first user! You can now add an album using this user.
Add a Page - top
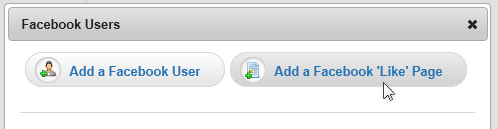
To add a Facebook page, click on the 'Facebook Users & Pages' at the top of the control panel, then click on the "Add a Page" button in the control panel.
A dialog window will appear. Paste the URL of the page you want to add into the text box.
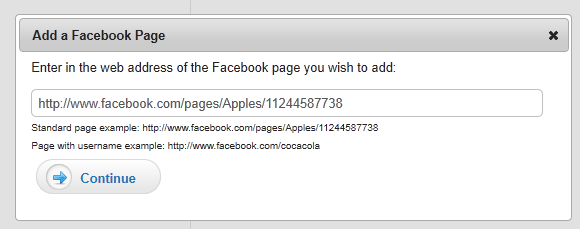
Pages that have specified a username will have a shorter URL, such as:
http://www.facebook.com/cocacola
Pages without a username will have a longer URL, which includes /pages/, the page name and most importantly the page ID number, such as:
http://www.facebook.com/pages/Apples/1124458773
Either format is acceptable, as long as the whole URL is entered.
Click the "Continue" button.
If the URL was a valid Facebook page, you will see a success message and the page will be added to the list on the left.
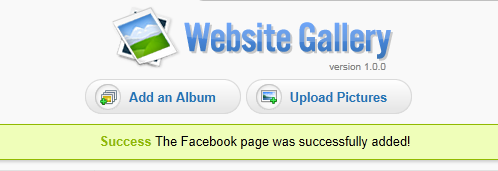
You have now successfully added your first page! You can now add a album from this page.
Deleting a User or Page - top
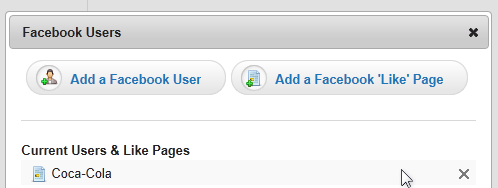
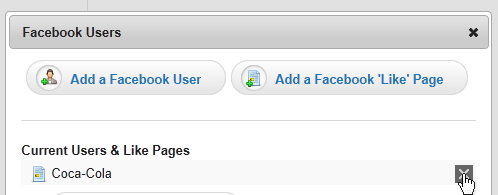
In order to delete a user or page, click on the 'Facebook Users & Pages' at the top of the control panel, then you will see a list of users and/or 'like' pages that you've added. Hover over the name of the user or page in the list. When hovered over, an X will appear to the right. Click this X and a confirmation window will appear.
Take note of the message, where all albums that were added using this user will also be deleted.
When you are sure you wish to delete this user or page, click the "OK" button.

If successful, you will see a message like the one above and the user or page and its albums will have been removed from the application.
Add a Facebook Album - top
To add an album, click on the button labelled "Add an Album" in your control panel.
A dialog window will then appear where you can select to upload images from your computer or import an album from Facebook. Click 'Import an album from Facebook'. (If you wish to upload images from your computer, click here to read the add an album section.)
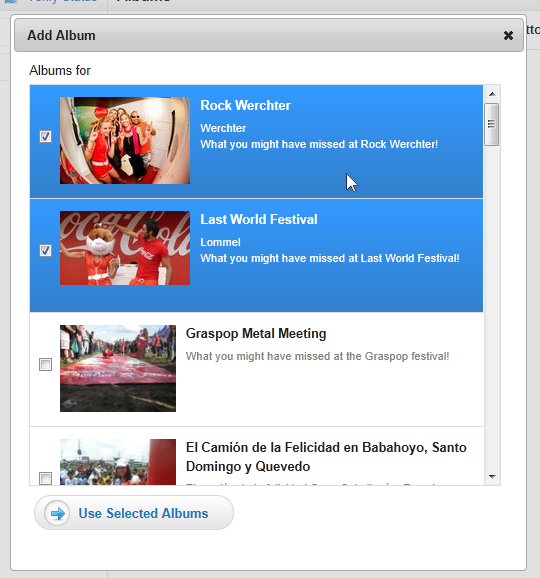
The next dialog window will now display all accessible albums for this user or page. Click on the albums that you wish to import into Website Gallery. You can select as many as you wish. Then click "Use Selected Albums".
The albums will now be downloaded and/or imported into Website Gallery. You will be shown the progress of this import. It may take a few minutes per album, depending on your server's internet connection.
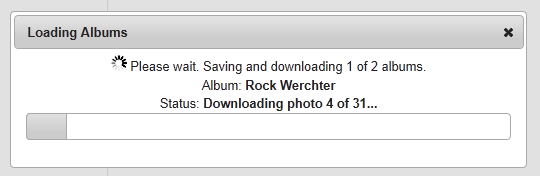
Do not close the window or tab, otherwise the albums will not be imported correctly or completely.
Once the importing has finished, you will see a success message and the albums will appear in the album list on the left of your control panel.
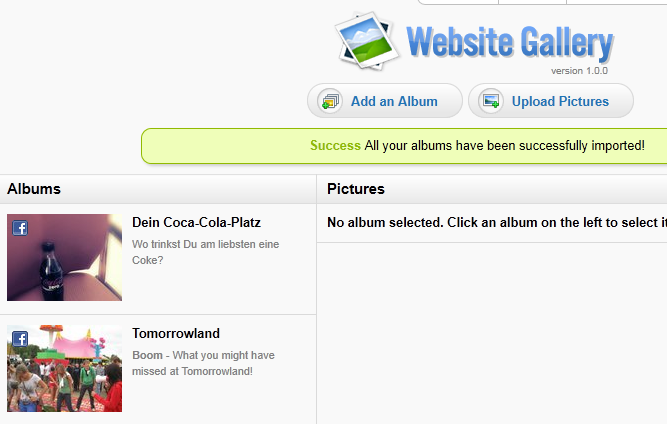
Congratulations! You have added your first albums. You can click on the "View Gallery" link in the top right of the control panel to view the albums.
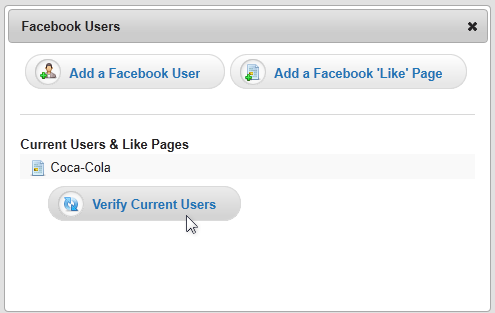
Verify Users - top
If a user changes their password, or some other privacy setting, Facebook may automatically de-authorize any application. It may also occur for other reasons. To check if this has happened, click on the 'Facebook Users & Pages' at the top of the control panel, then click the button "Verify Users" above the user list. All the users will then be checked to see if they are correctly authorized. (Note: Pages need no authorization and will not be checked.)
If a user is found de-authorized, a yellow exclamation mark will appear to the right on the user's name. Click this exclamation mark to re-authorize the user.
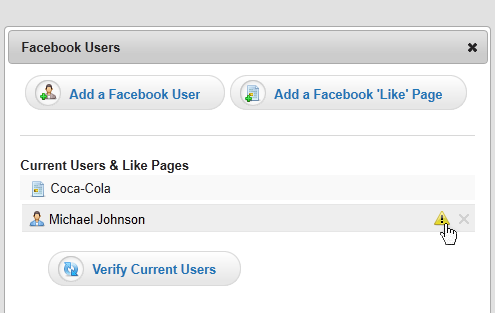
The steps from here are the same as the original authorization process.
Refresh Albums - top
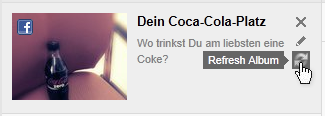
Website Gallery downloads your selected Facebook albums from Facebook to your website. These albums are automatically kept up to date. The updates may take 1 hour to reflect changes on Facebook. If you would like to see any changes made to an album on Facebook reflected immediately, then you can use the 'Refresh Album' feature.
To do, this, find the Facebook album you wish to refresh on the left of the control panel and hover over it. You will see 3 icons appear, the third icon from the top will be the "Refresh Album" icon. Click this to update the album from Facebook.
A progress screen will appear showing which albums are currently being updated.
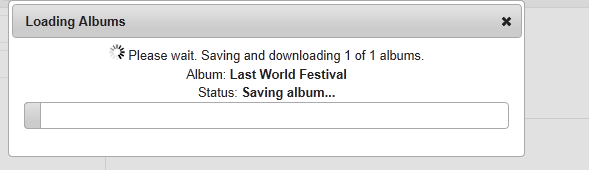
When the process is finished, you will be shown a success message.
A progress screen will appear showing the status of updating the album. When the process is finished, you will be shown a success message.
Settings Explained - top
In your control panel, up in the top right hand corner there is a link to a Settings dialog.
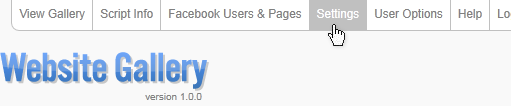
Clicking on this link brings up a dialog like the following.
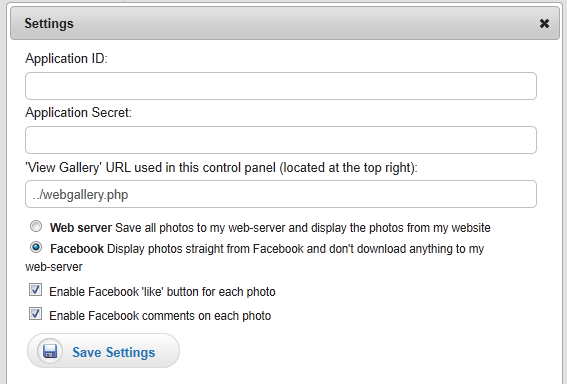
There are six fields, Application Id, Application Secret and View Gallery URL. The Application Id and Secret are explained and used when creating a Facebook Application.
The third field "View Gallery URL" allows you to change the web address used for the "View Gallery" link in the top right of your control panel (right near where you just clicked "Settings" to view this dialog).
By default it links to the default page for the gallery, however if you have included the gallery into Wordpress or another PHP application, you can change this field to the URL where your Gallery is displayed. If you are entering a full URL instead of a path, make sure it begins with "http". If it starts with just "www.", the link will not work.
The fourth field lets you choose the "Photo Source". This means where the photos in your Facebook albums are coming from, when users view the gallery on your website. You can choose to load them from Facebook directly (saving you bandwidth) or have the photos downloaded to your server and displayed from your server (ensuring availability).
The fifth and sixth fields allow you to turn on or off the Facebook 'like' and comment features that appear under each photo.
Language Pack Files - top
Most text used in the control panel are located in two language files. The exceptions to these are this user guide, the installation guide, and text that is used on images. These images can be found in /admin/images/.
The language pack files can be found in the /webgallery/admin/language/ folder. There will be two files, js.ini and php_html.ini. The separation of the files only represents how they are displayed to the user, either through Javascript calls or through HTML/PHP. This should have no bearing on your translation of the files. The language files contain what are called 'Language Variables'. They will look like this:
LanguageVarName = "This is an example sentence"
On the left if the name of the language variable, on the right is the value text. Only translate the right side, i.e. the value text. Ensure the double quotes still surround the text.
An example of a German translation would look like:
LanguageVarName = "Dies ist ein Beispielsatz"
Note only the right hand side has been changed.
Editing the Control Panel Login - top
When you first installed Website Gallery, you selected a username and password. If you wish to change this username and password, you can do this from the control panel by clicking the 'User Options' link in the top right of the control panel.

A dialog window will then appear and give you the option to change your username and/or password.
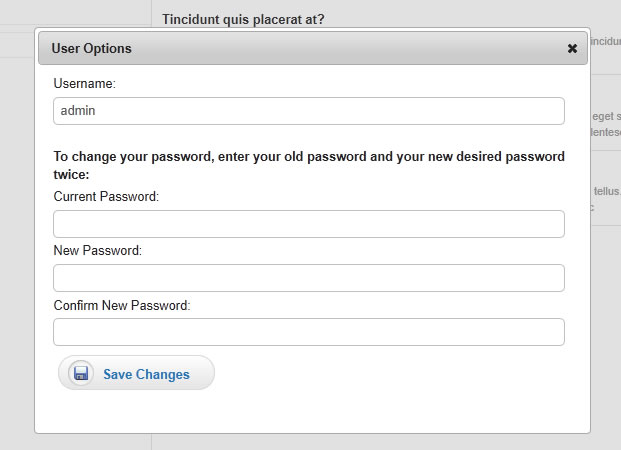
If you only want to change your username, then do NOT fill in any password field. If you wish to change your password, you must enter your current password, then your new password and then the new password a second time to confirm you typed it correctly.
Click "Save Changes", then the next time you login you'll need to use the new username and/or password.
Viewing the Gallery - top
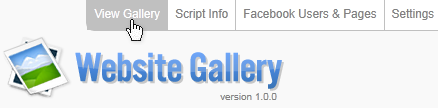
Once you have added some albums, you may want to see your Gallery! The Gallery can be viewed by clicking on the "View Gallery" link in the top right of the control panel.
This will show you the default gallery view. You may also include the gallery into your PHP website, using the instructions in the installation guide.
If you have your gallery displayed on another page on your website through PHP includes, you can change the page the "View Gallery" link links to through the settings dialog.
If you require any help at all, please feel free to email via my user page contact form here
Jordie Bodlay